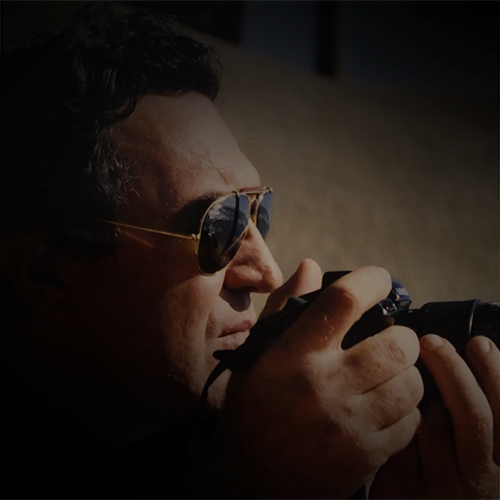
Photo retouching is an essential step in the process of creating a memorable and striking image. Whether you’re a professional photographer looking to hone your skills or an enthusiast keen to improve your photos, understanding the secrets of professional photo retouching can make all the difference. In this article, we’ll explore the techniques and tricks used by professionals to sublimate their images and captivate their audiences.
Master the Fundamentals: Before diving into advanced photo editing techniques, make sure you’ve mastered the fundamentals of the software you’re using, whether it’s Adobe Photoshop, Lightroom, or any other editing software. Learn the keyboard shortcuts, familiarize yourself with the basic tools, and explore the various features to maximize your efficiency and creativity.
Color and exposure correction: Color and exposure correction is often the first step in photo retouching. Use adjustment tools such as white balance, curves and levels to balance colors, adjust brightness and contrast, and correct any underexposure or overexposure in your image.
Noise Reduction and Sharpness Enhancement: For sharp, detailed images, use noise reduction and sharpness enhancement techniques. Experiment with sharpening filters, blur masks and noise reduction tools to eliminate unwanted artifacts and improve the clarity of your photos.Dodge and Burn: The “Dodge and Burn” technique, or “lighten and darken”, is a key element of professional retouching. Use brightness and contrast layers to lighten dark areas and darken light areas, adding depth and dynamism to your image.
Imperfection Correction: Touch up imperfections such as spots, pimples and wrinkles with care and precision. Use cloning and buffering tools to remove distractions from your image while preserving the natural appearance of skin and textures.
Selective Dodge and Burn: Refine your retouching by using the “Dodge and Burn” technique selectively to guide the viewer’s attention and create dramatic light and shadow effects. Use layer masks and low-opacity brushes to sculpt light and create dynamic focal points.
Local Settings: Use Local Settings to fine-tune specific details of your image. Whether you want to brighten eyes, boost color saturation, or soften backgrounds, local settings give you precise control over every aspect of your photo.
Stay subtle: The key to successful photo retouching is subtlety. Avoid excessive corrections and overly dramatic effects that can make your images look artificial. Keep in mind that photo retouching should enhance your image while preserving its character and authenticity.
By integrating these secrets of professional photo retouching into your workflow, you’ll be able to transform your images into true works of art. Don’t be afraid to experiment and push the boundaries of your creativity. Photo retouching is an ongoing process of learning and discovery, so keep exploring, learning and honing your skills to create images that captivate and inspire your audience.


